I hiked one of the most famous hikes in the world! - The Tongariro Alpine Crossing in New Zealand
- Aug 24, 2025
- 8 min read
Updated: Aug 25, 2025
The most gruelling and physically exhausting hike I have ever completed goes to this one.
The Tongariro Alpine Crossing is a 9-hour, 20.2-kilometre hike that has everything from steep climbs, exposed terrain and unpredictable weather. It was not an easy hike, but hands down, the best part of my New Zealand trip.
The Tongariro Alpine Crossing is one of the most famous hikes in the world, and I'm so excited to share my experience, despite not being an experienced hiker.
I'll be writing about all the ups and downs, the sweat, shaky legs and good laughs we had on this long, long hike.
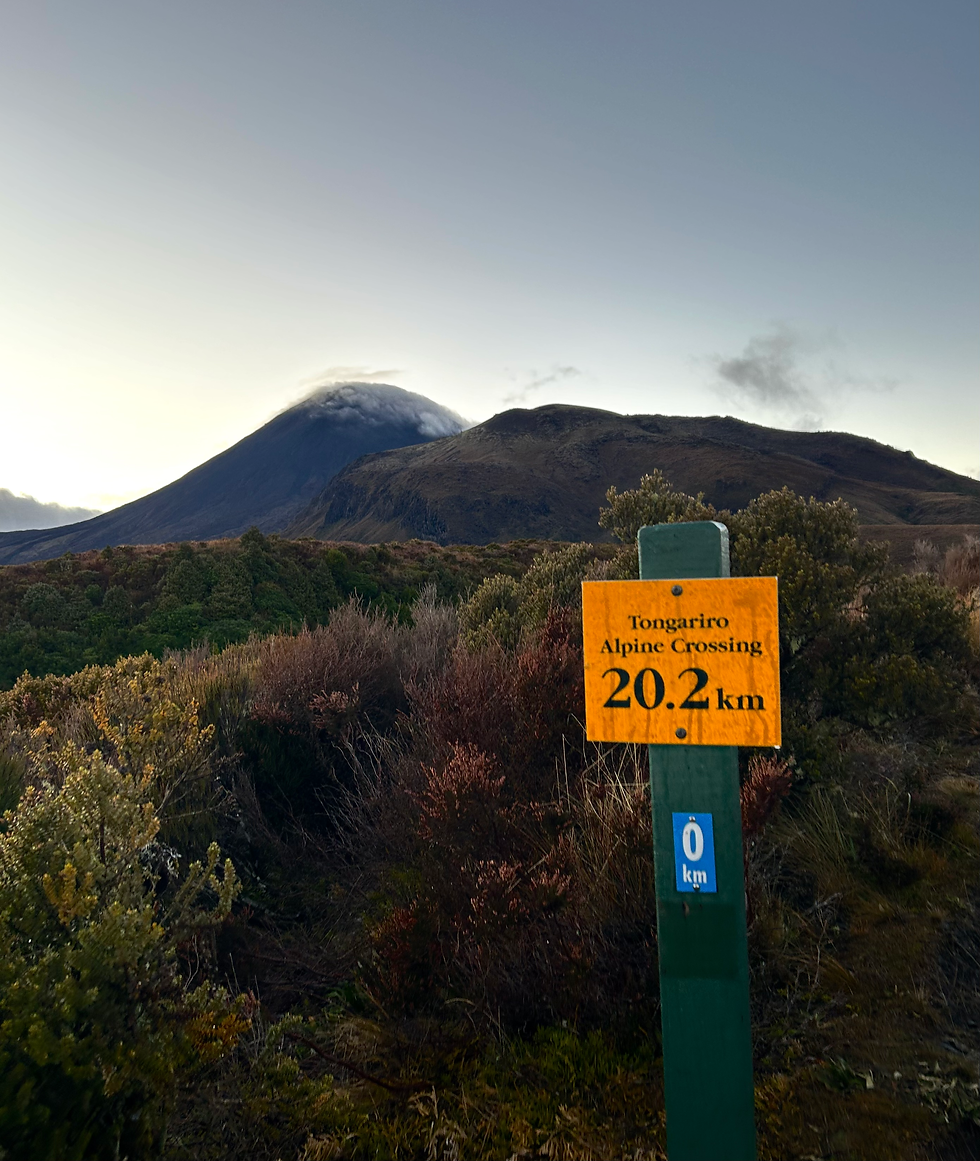
This hike is incredibly famous for its relation with Mount Doom in The Lord of the Rings film trilogy, as the real-world location of Mount Nqauruhoe inspired the fictional volcano.
The day of the hike started early — brutally early — with a 5:00 a.m. shuttle pickup in Taupō, a small neighbouring town near the Tongariro National Park where my group and I were staying. The bus ride was over an hour, so I took advantage of the peaceful ride and got some sleep before the real challenge began.
We arrived at the park around 6:30 a.m., witnessing the first light just as it crept over the volcanic peaks. It was cold, so we layered up quickly, stretched out the stiffness from the bus ride, and made a quick pit stop at the toilets before stepping onto the journey that lay ahead.
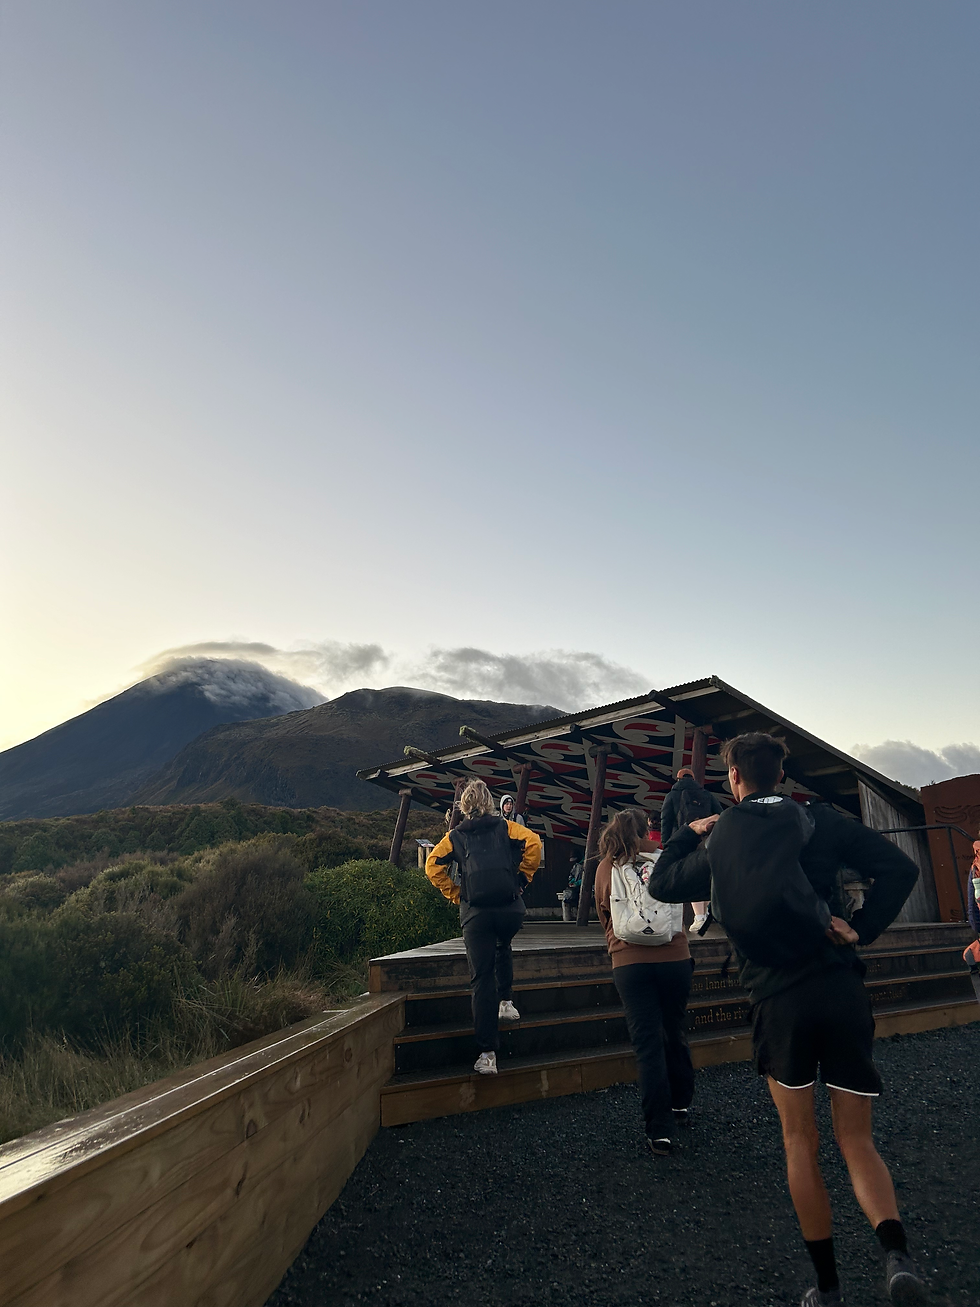

And just like that, the 9-hour hike began. If it weren't for the incredible group of people I was with, this hike would have been less fun, and I probably would have turned around. Having a great group of people hiking with me made the challenging and scary parts less demanding and frightening, and made the easy parts so much more fun :)
However, it's no secret that this hike was exhausting; my body was sore for 2 days.
Part 1: The Beginning

The beginning of the hike was relatively easy; the first 5 km had barely any elevation.
The start of the hike consisted of walking on flat land through a well-formed path, which eventually led to a boardwalk (as seen in the photo above). The scenery was beautiful as the sun rose behind the mountains and the volcanic valley. The slow start was a nice way to begin the journey.
The boardwalks crossed over the wetlands and streams, making it relatively gentle; unfortunately, that is the only part of the hike that I can call relatively "easy".
Part 2: Devil's Staircase to South Crater.
The next part of the hike took a turn, or should I say a 300m elevation gain.

This part of the hike was steep and exposed.
It was a strenuous climb and had my legs burning for their life. For about 1 hour, all we did was climb up, up, and up on rocky steps.
This part of the hike is famously known as "Devil's Staircase".
The higher we got, the more exposed we became to the wind and cold. The one great thing from this part of the hike was the spectacular views behind us.
Eventually, we made it to South Crater, which is a flat basin surrounded by volcanic peaks. It felt gratifying to make it to this point. I was so pleased to finally see some flat ground while we all caught our breath and took a little break.
After our little break, I finally got some "pep in my step" again while walking through South Creater; my humbling experience on Devil's Staircase was quickly forgotten. :)
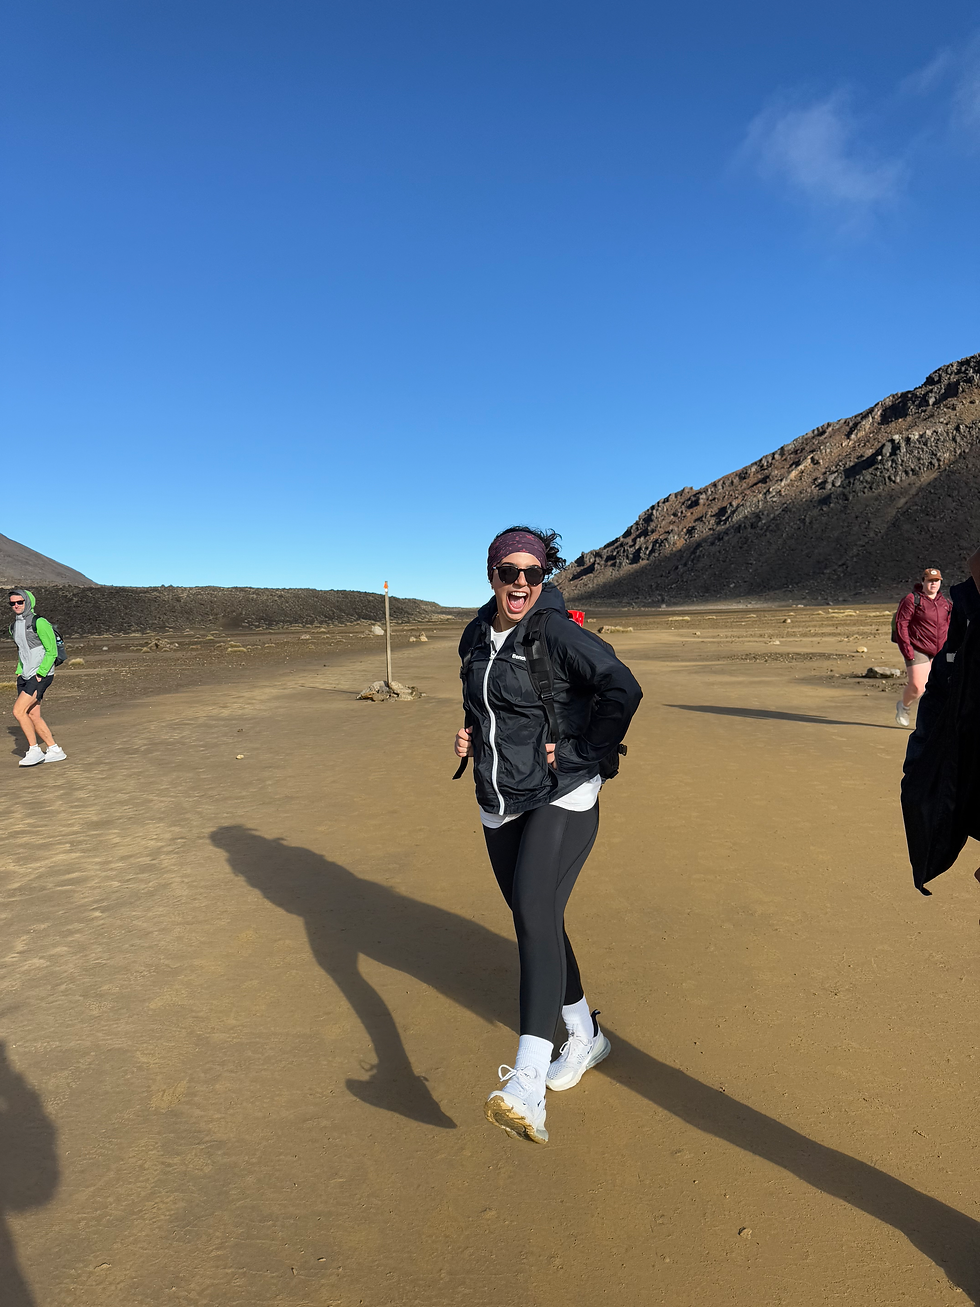
South Crater was a great section to prepare us for what was coming ahead. Now, being about a quarter of the way through the hike, our future was looking pretty good as most of us were still in okay shape and had some good enthusiasm.
Part 3: Red Crater
Walking through South Crater was a breeze; however, Red Crater (also known as Summit Ridge) was another steep climb, and not as breezy.
At the end of South Creter, the path became narrower and more precarious. Red Crater, which is the highest point of the hike (1,886 m), is about a 45-minute steep climb on exposed, ridge ground.
Red Crater had no stairs like Devil's Staircase; I had to observe my step on this part of the hike closely, and even had to use my hands at some points in a crawling position, pushing myself up higher. A couple of times I slipped and fell, and a few times I had to stop and wait for my legs to stop burning before I could start again, but the entire time I was in awe of the view.
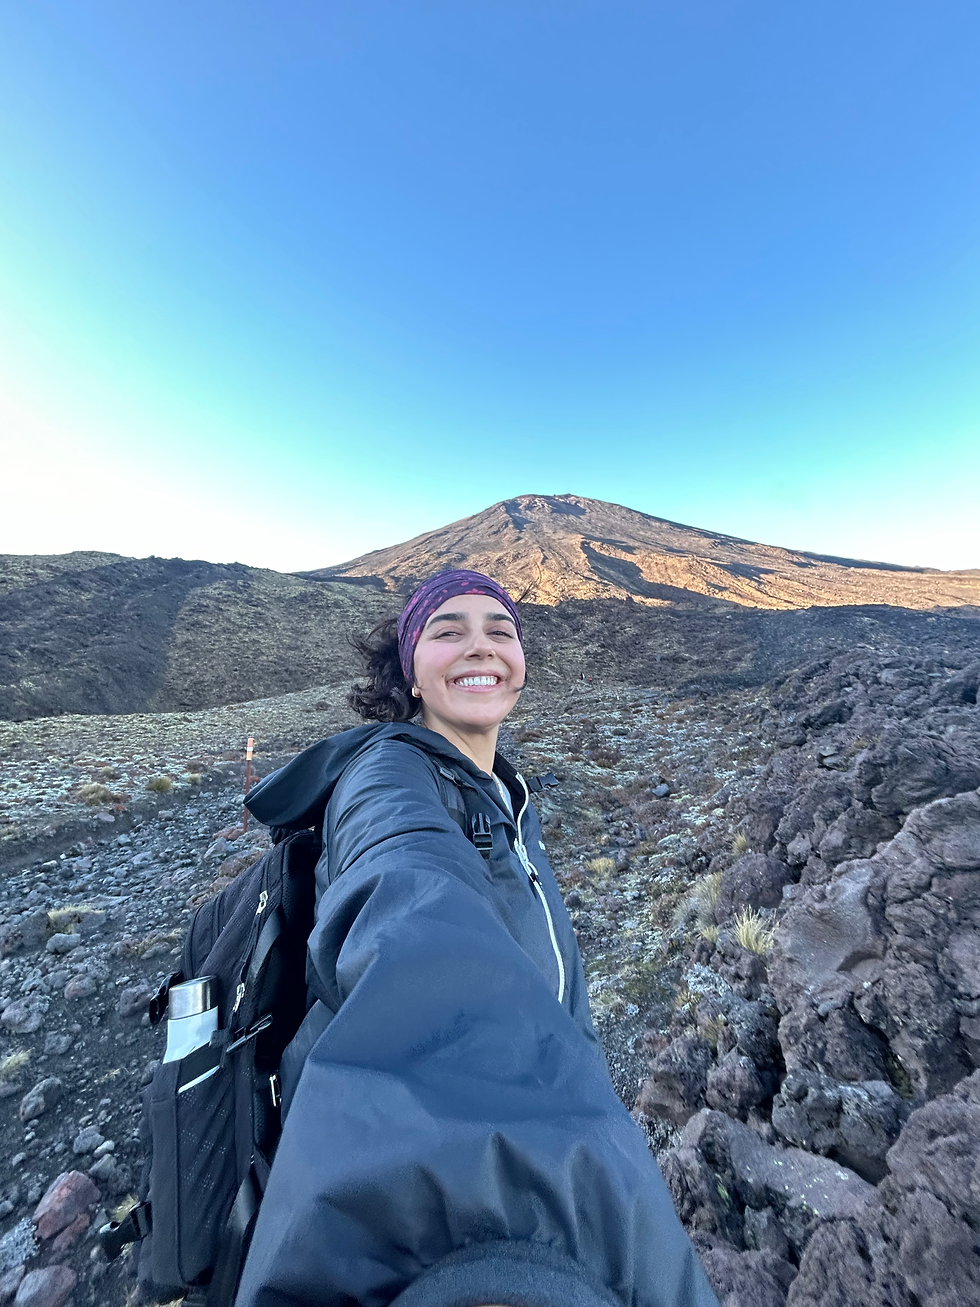
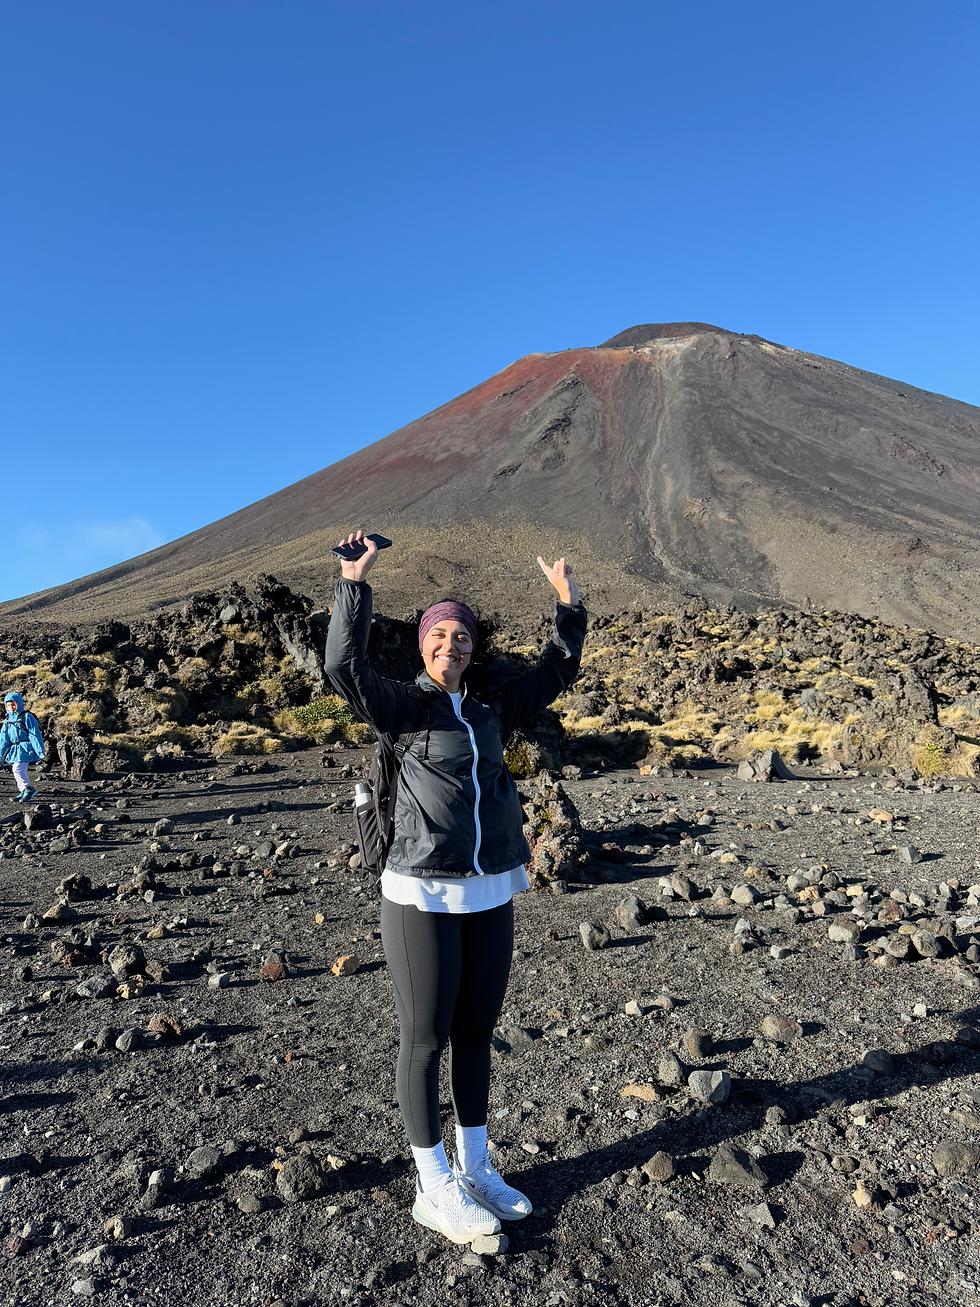
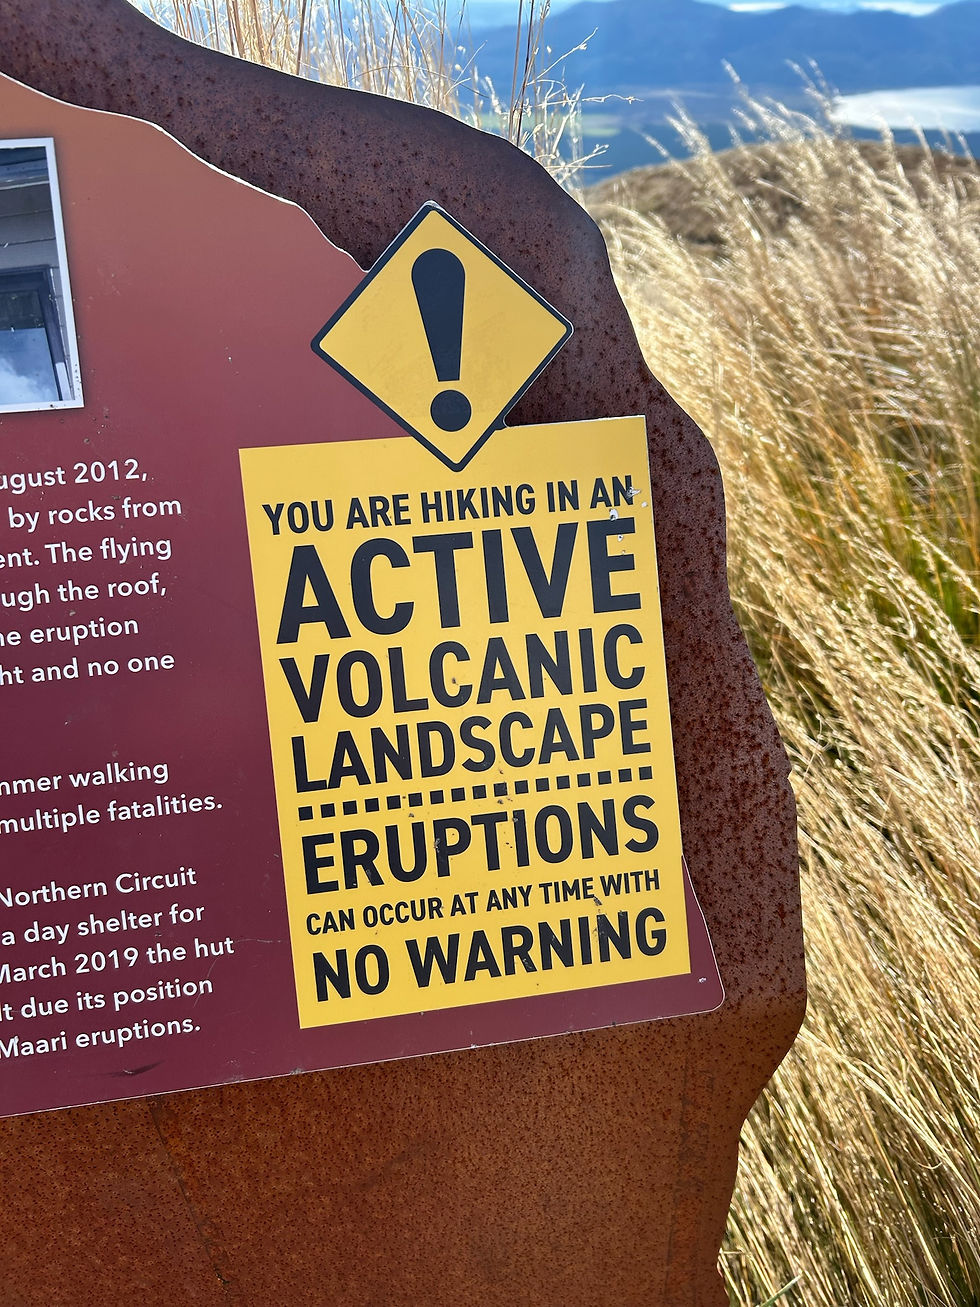
Red Crater is an active vent, with red-coloured rocks formed by oxidized iron. The views were incredible, and I have never seen anything like it in my life. Strong sulphur smells started to reach us during this part, reminding us that we were hiking through active volcanoes.
Even though Red Creater was one of the most physically gruelling parts of the hike, it was my favourite. I never thought my life would take me to a point where I was walking on an active volcano. The experience was just unbelievable, and I never felt stronger in my life (even though I was dry heaving about half the time).
Red Crater is a mental battle, and pushing through this point was not easy.
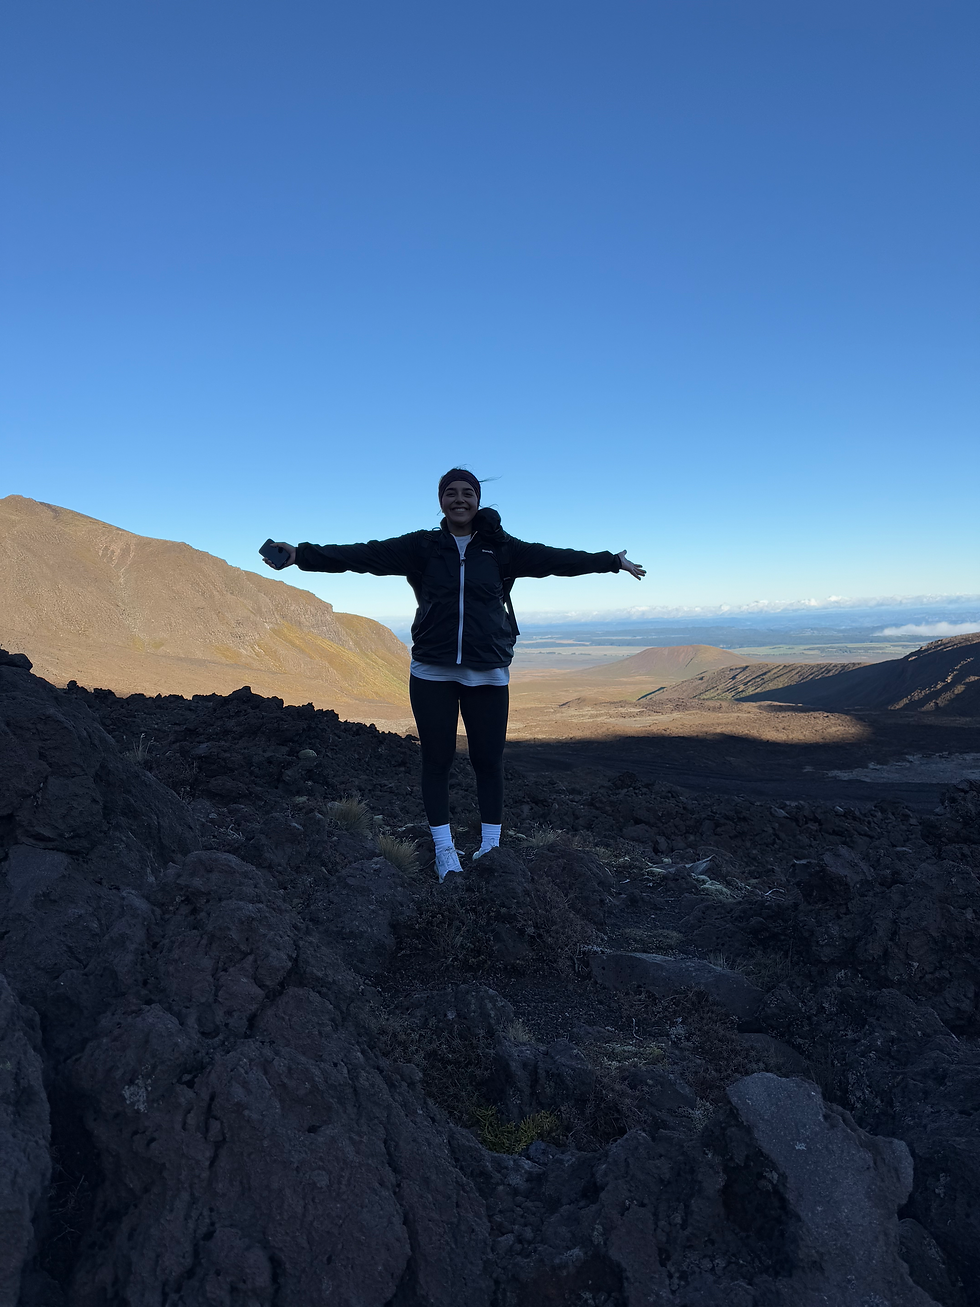
Once we made it to the top (the highest point of the hike), we felt so accomplished. We did some happy dances, had some laughs, and congratulated all the passing hikers for also making it to the top!

Part 4: Descent down to the Emerald Lakes
After the strenuous climb up Red Crater, with all the rocky and uneven ground, the moment I did not prepare myself for was the descent down.
You would think the most challenging part of the hike would be climbing up -- and I felt that way too -- until I realized how high I was, how narrow, windy, cold, and unsteady the descent down would be.
After barely making it through Red Crater, the hike drops sharply into a loose scree slope, which is one of the trickiest descents of the entire crossing. This slope takes about 30 minutes to complete until the ground evens out again.
The one thing about this descent was that the ground was not just rocks and dirt piled together; it was a trail of volcanic gravel, so with every step, you gently slide.

To describe what it felt like hiking down the descent, picture this.... You are walking on marbles, descending steeply down, 1000 meters in the air, with strong winds and foggy skies.
Of course, with my amazing luck, I was given poor visibility the entire way down thanks to the bad weather :)
I could barely see 10 feet in front of me, so the likelihood of just walking off the trail and falling down the mountain was high. (yay for me)
I witnessed many hikers quit and turn around, saying the hike was "not worth it".
I witnessed a hiker in my group have a full-blown panic attack.
I fell too many times to count, and every time my stomach dropped. I eventually ended up linking arms with my best friend, and we slowly worked our way down.
So yeah, I was shitting myself the entire time.
There is a specific technique for completing this part. Because of the loose gravel, it was recommended that you zig-zag down the side of the trail, which I tried my best to do.
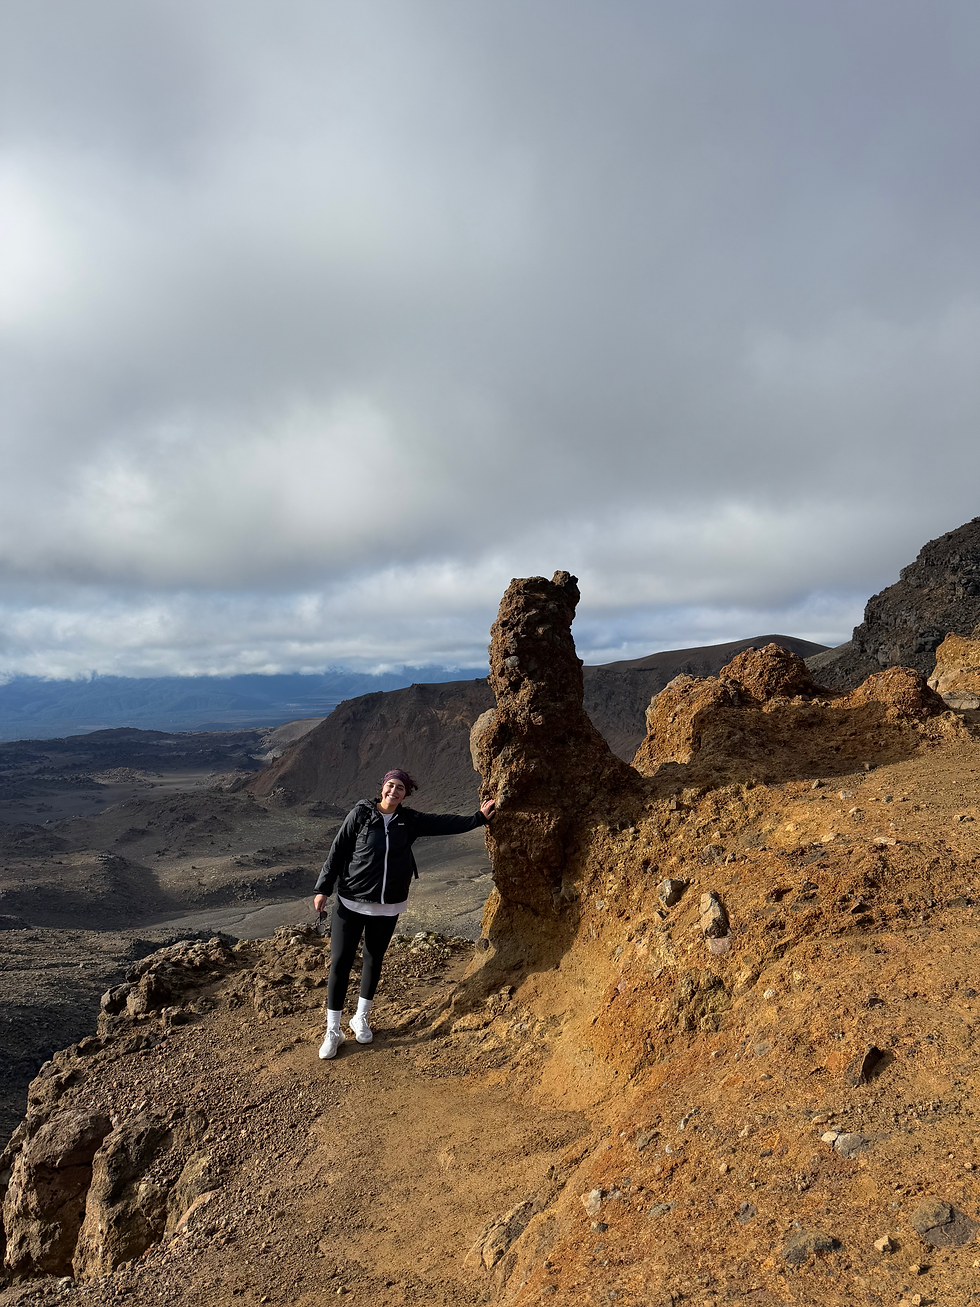
However, that 30-minute descent went by a lot faster than I thought it would, and all my nerves and panic suddenly brought a reward into view: the Emerald Lakes, glowing in shades of turquoise and green against the stark, ash-grey landscape.
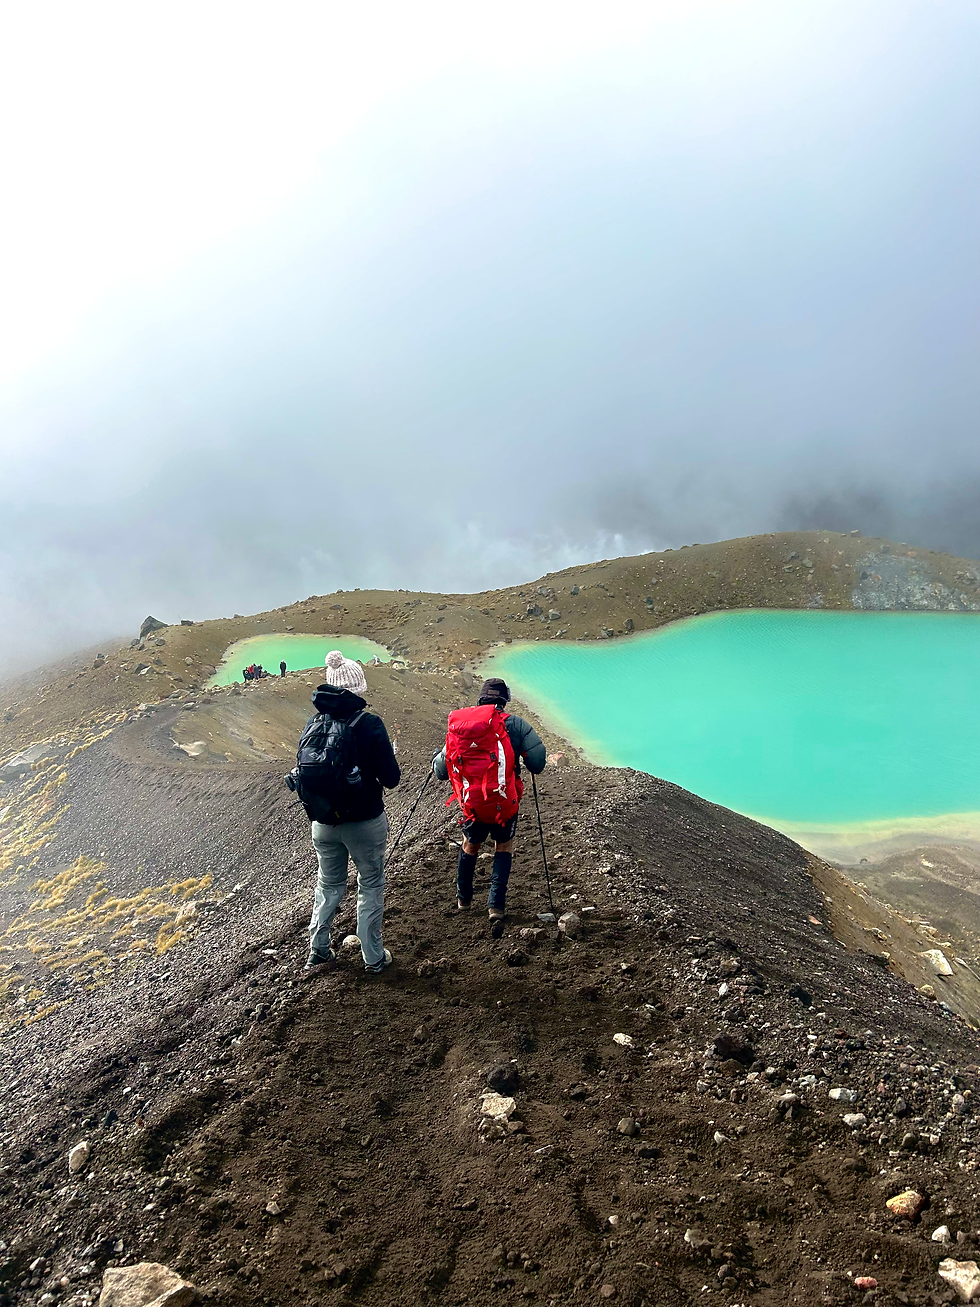
The Emerald Lakes are one of the most iconic scenes from the crossing. They are small, mineral-rich lakes that smell strongly of sulphur due to geothermal activity. So even though the pictures were beautiful, the smell in the air was not.
However, I have to admit, the colour of the lakes was just otherworldly — steaming earth, jewel-toned water, and the raw reminder that this is an active volcanic zone.
This part of the hike is where I paused and took in the view.

Part 5: Emerald Lakes to Blue Lake
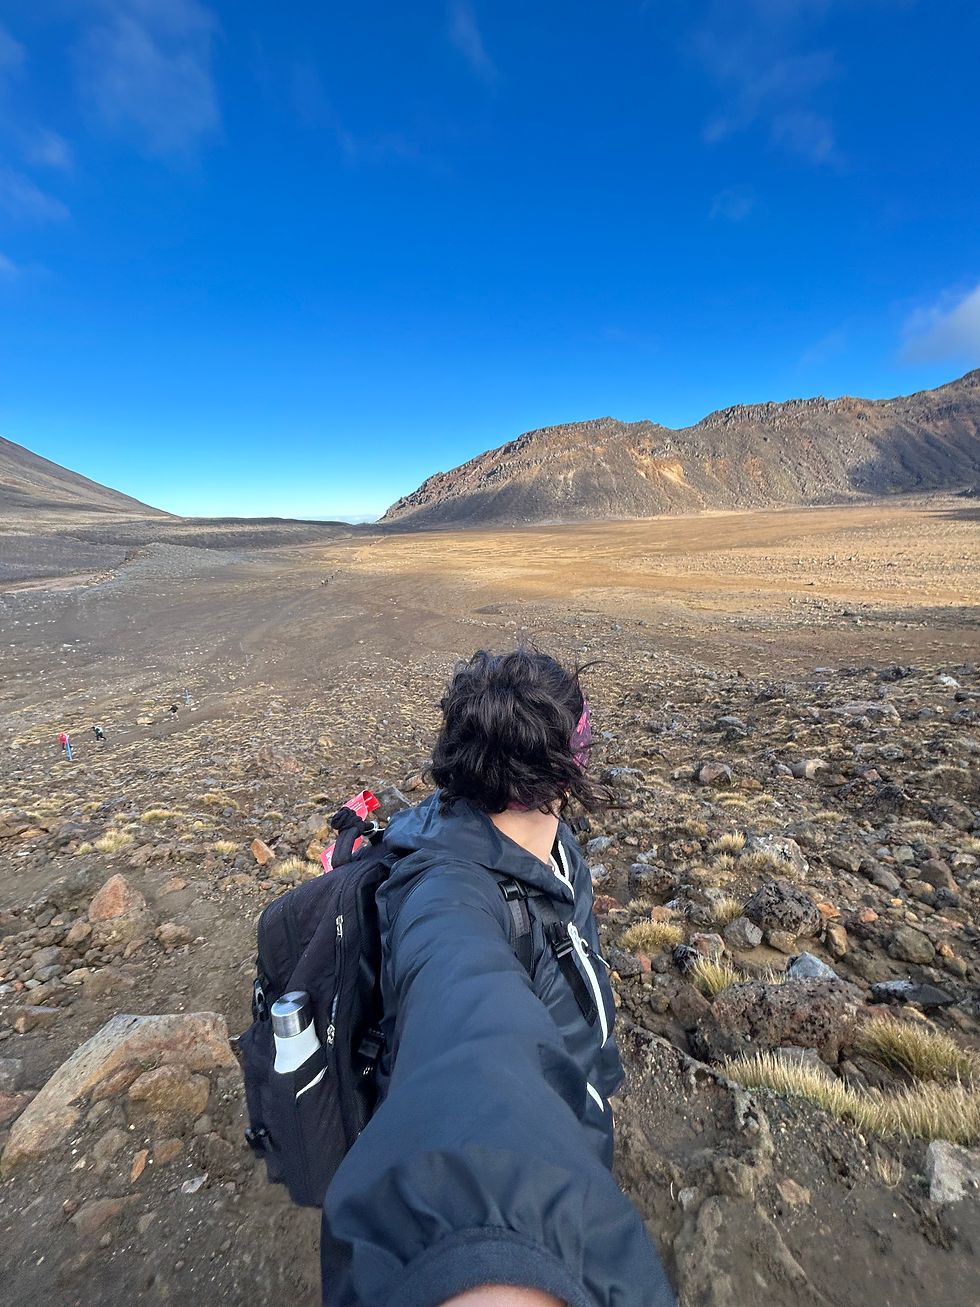
After leaving the Emerald Lakes behind, the descent began to even out. The trail brought us to vast, open terrain and sulphur-stained rocks. For about 30-45 minutes, we walked the trail that eventually led us to another famous spot, Blue Lake.


Even though the ground evened out, there was still a gradual incline to Blue Lake.
Blue Lake is a large, cold crater lake and is sacred to the Māori. Swimming and eating near the lake is discouraged.
The landscape began to soften here as we were heading farther away from the Volcanic terrain.
The only slightly disappointing thing about this part was the poor visibility due to the weather. Because of the fog, we could only see a small portion of the lake.

The hike to Blue Lakes was the last part of the trail where the ground was relatively even for a long time. The next 5-6 km was a strict descent.
Part 6: Ketetahi Shelter
This was the home stretch of the hike, a long, steady descent, which felt extra long at times due to the hours of hiking we had completed.

The trail zig-zagged down the mountainside, and the views opened up dramatically, with Lake Rotoaira and the vast shimmer of Lake Taupō filling the horizon.
This part of the hike felt like the backdrop of a movie. The skies were so blue, the sun came out, the temperature warmed, and you could hear the birds chirping and the water streams. The final stretch of the hike was incredibly peaceful. My photos don't do it justice.

The descent headed towards the forested valleys below. The path crossed tussock-covered slopes, passing steaming vents and the scarred craters of Te Maari.
Eventually, the trail levels out at the Ketetahi Shelter, which is a small rest stop. We took advantage and took a bit of a break, caught our breath, and took in the view.

After our little rest at Ketetahi Shelter, we pushed through the last few kilometres. I was exhausted at this point. I didn't take my camera out once to snap a photo of the last stretch of hiking through the forest; my main goal was to get to the car park so I could get back on the bus to Taupo and crawl into bed.
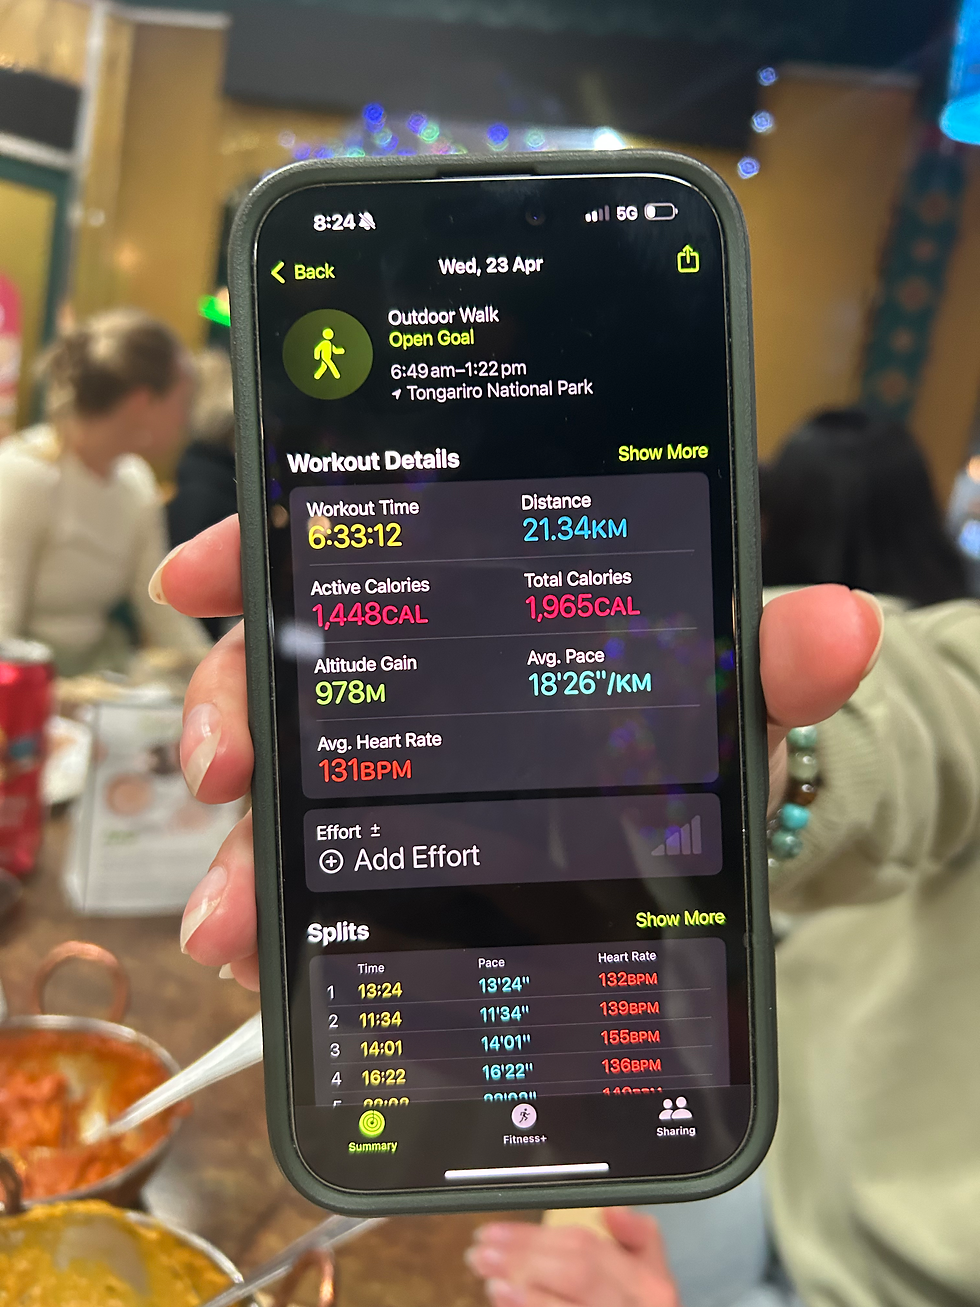
We ended up finishing the 20.2-kilometre hike in 6 hours and 33 minutes.... almost 3 hours faster than the average time it takes to hike this crossing.
So it's safe to say that we didn't just finish the hike, we completed it with a fantastic time.
WOOHOO!
So that’s it, the Tongariro Alpine Crossing was an otherworldly journey from volcanic craters, steaming vents, jewel-colored lakes and lush forests.
This one-day hike was both demanding and beautiful. It left my legs aching, but my camera roll full.
This hike was one of the best parts of New Zealand, and even now, long after I washed the red dust from my shoes, the feeling of standing on the Tongariro volcanic complex is an experience that will stay with me for the rest of my life.


It sounds like the other side of the world is something to see.